How to use the electric detonator tester and its precautions 1. AC and DC voltage measurement 1) Insert the red meter pen into the “V†and the black meter pen into the “COM†jack.
2) Place the function range switch in the V or V ~ voltage measurement file and connect the test leads in parallel to the power or load under test.
3) Read the measured voltage directly from the LCD. The AC measurement shows the value as a sine wave (average response).
4) The instrument's input impedance is approximately 10 MΩ. This load can cause measurement errors in high-impedance circuits. In most cases, if the circuit impedance is below 10kΩ, the error is negligible (0.1% or less).
note:
* Do not input voltage higher than 1000V. It is possible to measure higher voltages, but there is a danger of damaging the instrument.
* When measuring high voltages, special care must be taken to avoid electric shocks; after completing all measurement operations, disconnect the test leads from the circuit under test.
2. AC/DC current measurement 1) Insert the red meter pen into the "uAmA" or "A" jack and the black meter pen into the "COM" jack.
2) Place the function range switch in A or A ~ current measurement file, and connect the meter pen to the tested bribe.
3) Read the measured current value directly from the LCD. The AC measurement display value is the sine wave effective value (average response).
4) If stray current is to be measured, a 1Ω sampling resistor must be connected in parallel between the two pens.
note:
* Before the meter is connected in series to the circuit under test, the power in the circuit should be turned off. The correct input port and function gear should be used for measurement. If it is not possible to estimate the current size, measurement should be started from the high-end range.
* When the current is greater than 10A, there is no fuse in the A input port. For safety use, the measurement time should be less than 10 seconds and the interval time should be greater than 15 minutes.
* When the test leads are inserted in the current terminals, do not connect the test leads of the test leads in parallel to any circuit. This will blow the internal fuses and damage the instrument.
* After completing all measurement operations, turn off the power and disconnect the test leads from the circuit under test. The measurement of large currents is more important.
3. Electric Detonator Resistance Measurement 1) Insert the red meter pen into the “Ω†jack and the black meter pen into the “COM†jack.
2) Place the function switch in the “Ω†measurement file and connect the test leads in parallel to the measured resistance.
3) Read the measured resistance value directly from the LCD. To maintain data, press the blue button “HOLD†on the panel.
note:
* If the resistance to be measured is open or the resistance exceeds the maximum range of the meter, the LCD shows "1".
* When measuring the on-line resistance, all the power in the circuit under test must be turned off before measuring, and all the capacitors should be drained to ensure that the measurement is correct.
* In the low resistance measurement, the test leads will bring about 0.1Ω-0.2Ω resistance measurement error. In order to obtain accurate readings, you should first short circuit the pen, remember the display value, in the measurement results minus the table pen short-circuit display value, in order to ensure measurement accuracy.
* If the resistance value of the short-circuited test leads is not less than 0.5Ω, check whether the test leads are loose or other reasons.
* When measuring resistance above 1MΩ, it may take a few seconds for the reading to stabilize. This is normal for high resistance measurements.
* Do not input voltages higher than DC 60V or AC 30V to avoid personal injury.
* After completing all measurement operations, disconnect the test leads from the circuit under test.
Electric Detonator Tester Maintenance and Maintenance 1. Use only semi-wet cloth and a small amount of detergent to clean the meter. Never use chemical agents to wipe the meter housing.
2. If any abnormality is found in the instrument, stop using it immediately and send it for repair.
3. Please keep the warranty card properly. When it is necessary to check or repair the instrument, please return the warranty card and the instrument to the manufacturer for maintenance.
Electric Detonator Tester Safety Operation Guidelines 1. Check the instrument and test line before use to prevent any damage or abnormality.
2. Do not touch exposed wires, connectors, unused inputs or the circuit being measured while the meter is measuring.
3. When measuring voltages higher than DC 60V or AC 30V or more, be careful to remember that fingers should not exceed the finger guard position to prevent electric shock.
4. When it is not possible to determine the range of the measured value, set the function range switch to the maximum range position.
5. Do not apply more than the rated voltage or current marked on the meter between the terminal and the terminal, or between any terminal and the ground.
6. The function switch must be placed in the correct range when measuring. Before the conversion of the function range switch, the connection between the test leads and the circuit under test must be disconnected, and it is forbidden to change the gear during measurement to prevent damage to the instrument.
7. Before performing on-line resistance measurements, all power in the circuit must be switched off and all capacitors should be drained of residual charge.
8. Before measuring the current, check whether the fuse of the meter is intact. Before the meter is connected to the circuit, the power of the circuit should be turned off.
9. When the "" symbol is displayed on the LCD, replace the battery in time to ensure measurement accuracy.
10. Maintenance Use a damp cloth and a mild detergent to clean the meter housing.
What is a TSA customs lock?
Customs TSA lock means that US Customs transit cargo and baggage transport customs cargo safety testing, the need to ensure universal TSA baggage security and the use of international customs GSM dedicated key.
Why use TSA customs lock?
Starting in January 2003, TSA requires all airport baggage entering the United States must be opened for inspection, but TSA issued a warning: unless TSA certified locks, or do not otherwise be checked baggage unlocked or destroyed by customs have the right to pry check luggage locks.
Benefits Customs TSA lock?
Check how TSA lock Customs: Customs inspector has a TSA lock key hand, be very careful when you open the baggage inspection to ensure safety, but also to re-lock after checking luggage.

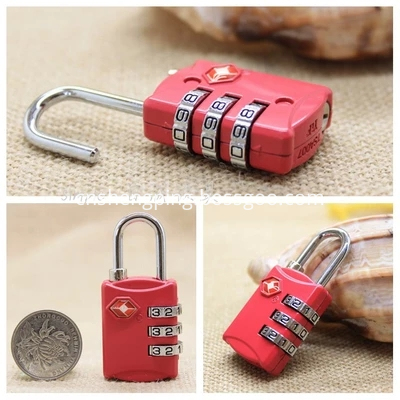
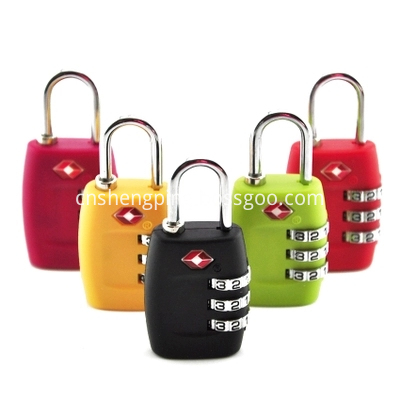
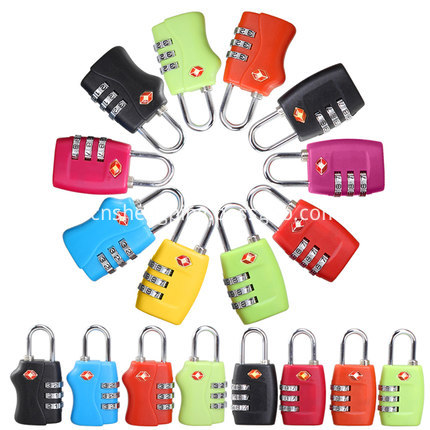
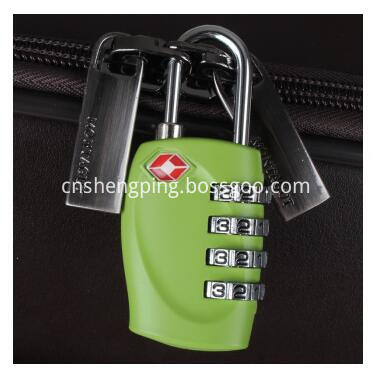
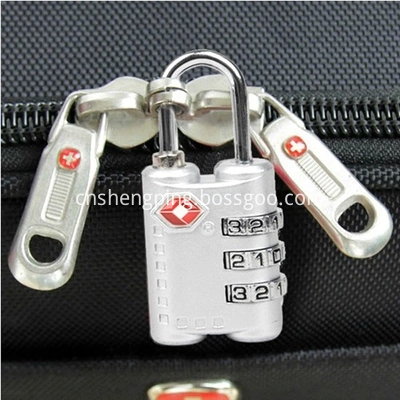
TSA Locks Luggage Locks Combination Padlock
Tsa Travel Locks,Luggage Combination Locks,Tsa Combination Lock,Travel Luggage Lock
Shengping Safety Protection Locks Manufacturer , https://www.chinajiuzhou.com